
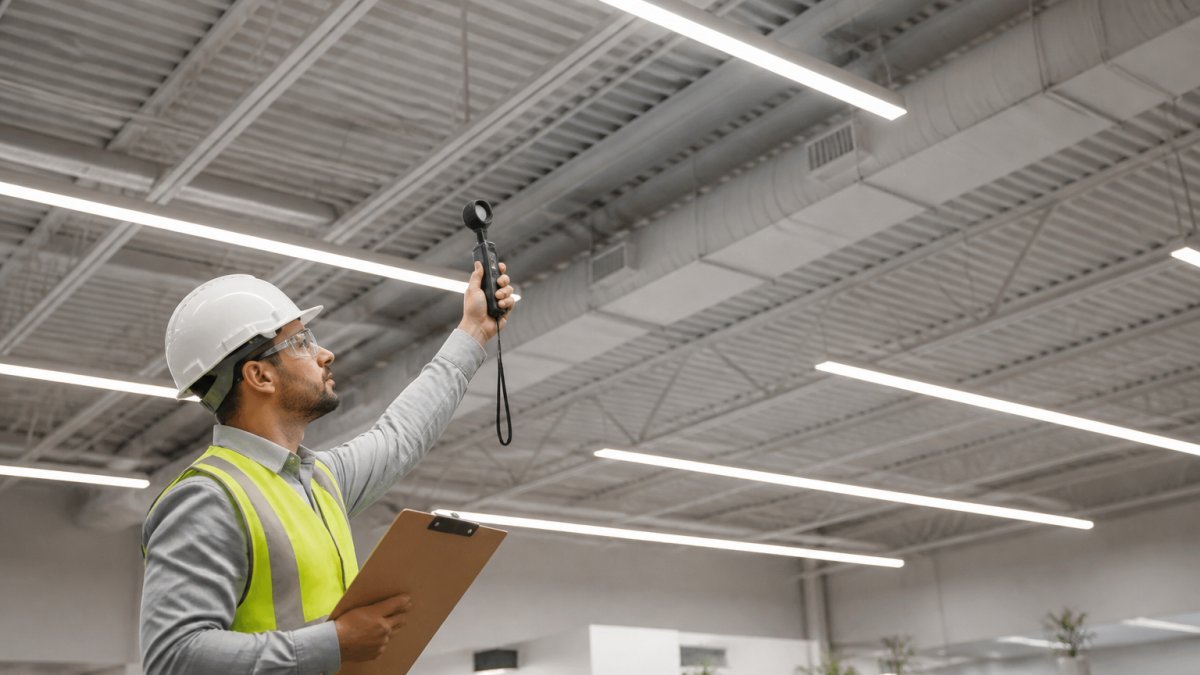
Last Updated: October 23, 2026
Quick Summary
A commercial lighting audit is a systematic inspection of your facility’s lighting to identify inefficiencies, safety issues, and upgrade opportunities. The process involves inventorying every fixture, measuring light levels, assessing equipment age, documenting findings, calculating energy savings, and prioritizing upgrades by payback period.
- Audit takes a few hours on-site but reveals which fixtures to replace first and how much you’ll save.
- Measure light levels using a calibrated meter at the work plane in a 3×3 or 4×4 grid per zone.
- Calculate annual savings using total connected watts, operating hours, and your blended electricity rate.
- Fixtures over 15 years old are maintenance drains and should be prioritized for replacement.
- Document findings in a professional report including inventory, measurements, recommendations, and rebate opportunities.
Table of Contents
- Why a Commercial Lighting Audit Matters
- Step 1: Define Your Audit Scope and Lighting Goals
- Step 2: Gather Facility Information and Utility Data
- Step 3: Prepare Your Commercial Lighting Audit Checklist
- Step 4: Conduct the On-Site Walkthrough and Inventory
- Step 5: Measure Light Levels for Commercial Buildings
- Step 6: Calculate Commercial Lighting Energy Savings
- Step 7: Document Findings in a Lighting Audit Report Template
- Frequently Asked Questions
Why a Commercial Lighting Audit Matters
A commercial lighting audit is a systematic inspection of your facility’s lighting to identify inefficiencies, safety issues, and upgrade opportunities. A Step-by-Step Guide covers the complete audit process in detail.
Old fixtures run hot, burn out frequently, and consume far more electricity than modern alternatives.
An audit takes a few hours on-site but tells you which fixtures to replace first, which areas are over-lit, and how much you’ll save.
The U.S. Department of Energy’s guidance on commercial building energy assessments recommends regular facility audits as the foundation of any energy efficiency program.
Step 1: Define Your Audit Scope and Lighting Goals
Before walking the facility, clarify your goal: energy cost reduction, better light quality in work zones, parking-area safety, or longer fixture lifespan. Your goal shapes which areas you prioritize and what data matters most.
Write your goals and scope in one sentence each to keep the audit focused and measurable. For example: “Reduce warehouse lighting energy costs by 30% within 18 months.”
Step 2: Gather Facility Information and Utility Data
Collect basic facility details before the on-site work begins. You’ll need:
- Building square footage and layout (floor plans help)
- Occupancy hours and usage patterns (24/7 operations vs. business hours only)
- Current utility bills for the past 12 months
Pull your utility bills and calculate average monthly electricity costs, the baseline for post-audit savings. Note round-the-clock operations and seasonal peaks.
Request existing lighting plans or equipment specs from your facilities team; prior information saves time during the walkthrough.
Step 3: Prepare Your Commercial Lighting Audit Checklist
A structured checklist keeps the audit organized. It should capture:
- Fixture location and zone (warehouse, office, parking, exterior)
- Fixture type (fluorescent, metal halide, incandescent, LED)
- Lamp count per fixture
Create a simple template with rows for each zone, spreadsheet, printed form, or mobile app, and leave space for notes and photos.
Step 4: Conduct the On-Site Walkthrough and Inventory
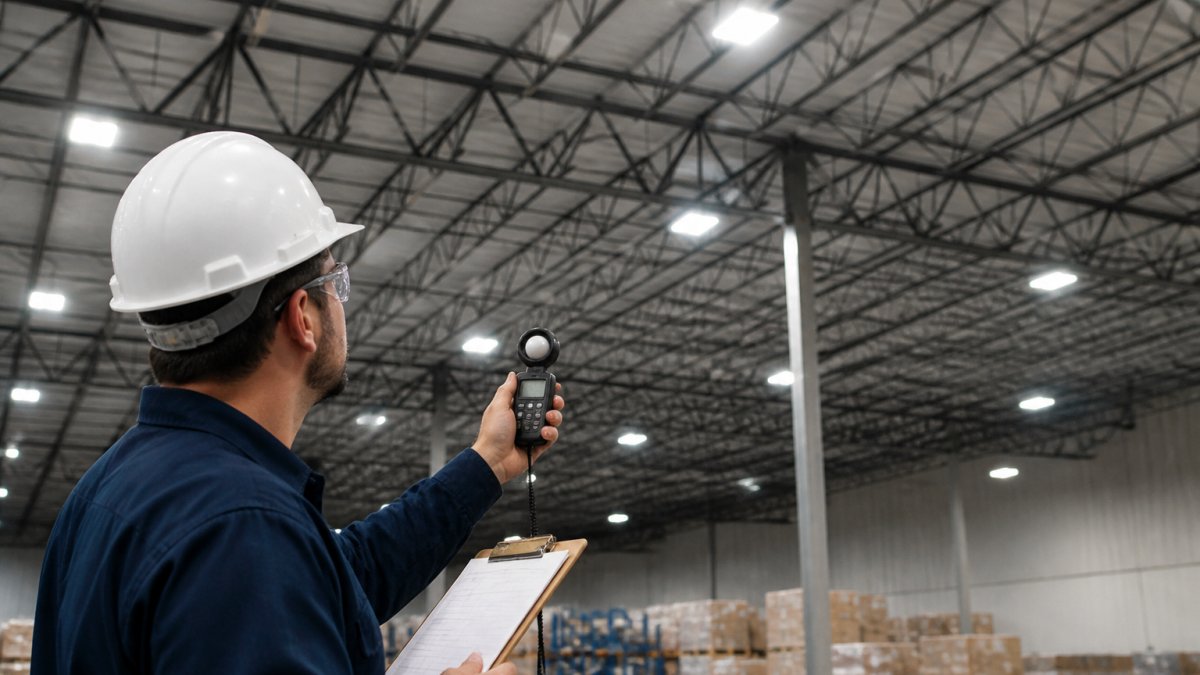
Schedule the walkthrough during normal operating hours to observe actual occupancy and lighting use. Bring your checklist, camera, light meter, and a ladder for high-bay fixtures.
Work systematically zone by zone, you’re gathering data that will guide thousands of dollars in upgrade decisions.
Record Fixture Quantities, Types, and Wattages
Count every fixture in each zone, warehouse perimeter, parking lot, loading dock, and every interior space. Note wattage if unlabeled, lamp type (T8 fluorescent, metal halide, LED, incandescent), and lamps per fixture.
For example: “Warehouse zone A: 48 fixtures, each holding 4 T8 fluorescent lamps at 32 watts each.” That’s 192 total lamps at 32 watts = 6,144 watts just for that zone.
Assess Fixture Age, Condition, and Maintenance Needs
Look for discolored or cracked lenses, corrosion, flickering or dimming lamps, and ballast hum. Note which fixtures are failed or need frequent maintenance.
Fixtures over 15 years old are maintenance drains, they fail unpredictably and waste energy. Document their condition to prioritize replacement.
Inspect Interior and Exterior Lighting
Walk every interior space, offices, storage, restrooms, hallways, loading docks, and exterior areas: parking lots, perimeter, signage, and entry points. Exterior lighting often runs all night and wastes energy if uncontrolled.
Note areas that feel overlit (wasted energy) or underlit (safety and productivity problems); combined with meter readings, this reveals where upgrades will have the biggest impact.
Step 5: Measure Light Levels for Commercial Buildings
Light levels are measured in illuminance, expressed in foot-candles (fc) or lux (1 fc ≈ 10.76 lux). This is where most audits lose credibility: a single eye-level reading in the middle of a room tells you almost nothing. A defensible protocol does.
Equipment and calibration
Use a calibrated light meter with a cosine-corrected sensor. Rentals run under $100 per week; basic handheld meters cost roughly $150 to $300. Before relying on any meter:
- Confirm the calibration certificate is current (most manufacturers recommend annual recalibration).
- Zero the meter per the manufacturer’s instructions and check the battery.
- Note the meter model and calibration date in your audit record so the readings are traceable.
Where to take readings
Take readings at the work plane, not eye level, typically 30 inches above the floor for offices and task areas, and at the task surface for benches, racks, or displays.
Use a 3×3 or 4×4 grid per zone, with readings at the center, corners, aisles, and the darkest and brightest points. Record average, minimum, and maximum: a zone can average 40 fc while a corner sits at 8 fc.
Get a Free Property Assessment →
For exterior and parking areas, read the pavement at the darkest points between poles, at the perimeter, and at entry and exit paths. Note mounting height and pole spacing for later interpretation.
Accounting for daylight and operating conditions
Measure under the conditions you are trying to characterize:
- Night readings isolate electric lighting. Take them after dark for exterior and window-adjacent zones.
- Day readings capture the combined effect of daylight and electric light. Take them at the same time of day you expect peak occupancy.
- Note sky conditions (clear, overcast), time of day, and whether blinds or shades were open.
If you cannot measure at night, say so in the report and flag the affected zones as provisional.
Comparing readings to standards
Compare readings against recommended maintained illuminance for the space type. The Illuminating Engineering Society (IES) publishes recommended practice by space and task, and many energy codes reference IES targets.
Document each reading with zone, grid point, time, meter model, and conditions, that record defends an overlit or underlit finding and is what a contractor or rebate reviewer will ask for.
Photograph the meter display at each grid point. It is the fastest way to prove a reading later and it takes seconds in the field.
Step 6: Calculate Commercial Lighting Energy Savings
Savings estimates are only useful if a reader can reproduce them. Here are the formulas, then one worked example you can swap your own numbers into.
The core formulas
Annual energy use (kWh) = total connected lighting watts ÷ 1,000 × annual operating hours
Annual energy cost = annual kWh × your blended electricity rate ($/kWh)
Demand savings ($/kW-month) = reduction in peak connected lighting kW × demand charge × 12 (if your tariff has a demand charge)
Simple payback (years) = net installed cost after rebates ÷ annual savings
Worked example
Assume a 200,000 sq ft warehouse with 400 high-bay fixtures, each drawing 400 W (including ballast), operating 6,000 hours per year, at a blended rate of $0.12/kWh and a demand charge of $10/kW-month.
- Current connected load: 400 × 400 W = 160,000 W = 160 kW
- Current annual kWh: 160 kW × 6,000 h = 960,000 kWh
- Current annual energy cost: 960,000 × $0.12 = $115,200
- Current annual demand cost: 160 kW × $10 × 12 = $19,200
- Current total annual lighting cost: $134,400
Now assume LED high-bays at 150 W each, same count and hours:
- New connected load: 400 × 150 W = 60,000 W = 60 kW
- New annual kWh: 60 kW × 6,000 h = 360,000 kWh
- New annual energy cost: 360,000 × $0.12 = $43,200
- New annual demand cost: 60 kW × $10 × 12 = $7,200
- New total annual lighting cost: $50,400
- Annual savings: $134,400 − $50,400 = $84,000
If the installed cost is $160,000 and a utility rebate covers $30,000, net cost is $130,000. Simple payback = $130,000 ÷ $84,000 ≈ 1.5 years.
Layering in controls
Estimate controls savings zone by zone, not as a blanket percentage:
- Occupancy sensors: savings depend on how often the zone is empty. A storage aisle used two hours a day can see very large savings; a continuously staffed area sees little.
- Daylight harvesting: savings depend on window area, orientation, and whether the zone is dimmable. Estimate the fraction of operating hours the zone can dim and by how much.
- Scheduling: time-clock or building-automation scheduling captures savings in areas with predictable hours.
Model each zone’s hours-of-use before and after controls, then rerun the kWh formula. Avoid stacking a “controls savings” percentage on top of an LED savings percentage, that double-counts.
What to put in the table
For each zone, record: current watts, proposed watts, operating hours, kWh before, kWh after, energy rate, demand charge (if applicable), annual energy savings, annual demand savings, installed cost, rebate, net cost, and simple payback. That table is the backbone of the report and the basis for any rebate application.
Use your own utility bill’s blended rate and demand charge, not a national average. Rates vary widely by utility and tariff, and a wrong rate can swing payback by a year or more.
How to Maximize Commercial Lighting Rebates helps offset these upgrade costs through utility incentive programs.
Step 7: Document Findings in a Lighting Audit Report Template
Organize findings into a professional report, your reference for decisions and rebate applications.
Your report should include:
- Executive summary: current energy use, estimated savings, top 3 recommendations
- Facility overview: square footage, operating hours, zones audited
- Fixture inventory: table showing zone, fixture type, count, wattage, age, condition
Include photos of current conditions and problem areas, they help contractors understand what they’re replacing and justify priorities to finance.
Commercial LED Lighting Upgrades connects your audit findings to actual installation and rebate coordination.
The audit takes a few hours but pays dividends for years.
| Audit Step | Key Output | Time Required |
|---|---|---|
| Define scope and goals | Written audit objectives | 15 minutes |
| Gather facility data | Utility bills, floor plans, usage patterns | 30 minutes |
| Prepare checklist | Structured data collection form | 20 minutes |
| On-site walkthrough | Complete fixture inventory, light measurements, condition notes | 2-4 hours |
| Calculate savings | Energy consumption baseline, LED savings estimate, payback period | 1 hour |
| Document report | Professional audit report with recommendations and photos | 2-3 hours |
Frequently Asked Questions
What should be included in a commercial lighting audit checklist?
A comprehensive commercial lighting audit checklist should document fixture type, quantity, wattage, age, and condition for each area. Include interior and exterior zones, work areas, and circulation spaces. Record occupancy patterns, operating hours, existing controls, and light levels measured with a meter. Photograph problem areas, note maintenance issues, and flag overlit or underlit zones. Capture utility bill data and identify any code compliance gaps. This structured approach ensures no fixtures or inefficiencies are missed during your assessment.
How do you calculate energy savings from a commercial lighting audit?
Start by multiplying current fixture wattage by annual operating hours to find baseline consumption. Then calculate proposed LED wattage the same way. Subtract the LED total from baseline to get annual kilowatt-hour savings. Multiply by your local electricity rate to estimate annual cost reduction. For example, replacing 100 fixtures at 400W each, running 4,000 hours yearly at $0.12/kWh, saves 160,000 kWh annually, or roughly $19,200. This figure drives payback period and justifies upgrade investment to stakeholders.
What light levels should a commercial building have?
Light level requirements vary by space type and task. General office areas typically need 300-500 lux (28-50 foot-candles), while detailed work zones require 500-1,000 lux. Warehouses and storage areas need 150-300 lux for safe navigation. High-precision assembly lines may need 1,000+ lux. Parking garages typically require 50-100 lux for safety. Measure actual levels with a light meter at desk/work-surface height. Overlit spaces waste energy; underlit areas create safety and productivity issues. Balancing light levels to task requirements is a core goal of any commercial lighting audit.
How long does a commercial lighting audit typically take?
A standard audit of a small to mid-sized facility (10,000-50,000 sq ft) usually takes 4-8 hours on-site. Larger warehouses or multi-building complexes may require 1-3 days. The timeline depends on facility size, complexity of existing systems, accessibility of fixtures, and data availability. Pre-audit preparation (gathering utility bills, floor plans, occupancy schedules) cuts on-site time significantly. Professional auditors typically complete the full assessment, measurements, and preliminary recommendations within 1-2 weeks after the walkthrough.