
Table of Contents
- Understanding LED Retrofit Installation Downtime
- Pre-Installation Audits and Fixture Inventory Planning
- LED Retrofit Project Planning for Occupied Facilities
- Phased Lighting Installation and After-Hours Scheduling
- Lighting Installation Safety Plan for Commercial Buildings
- LED Retrofit Installation Timeline and Execution Steps
- Occupant Communication and Temporary Lighting Solutions
- Measuring Success: Downtime Metrics and Project KPIs
- Frequently Asked Questions
Last Updated: October 13, 2026
Understanding LED Retrofit Installation Downtime
LED retrofit installation downtime occurs when existing fixtures are temporarily offline during an upgrade, disrupting operations in occupied buildings.
The core issue isn’t the installation, it’s the planning. Most facilities treat retrofits as straightforward swaps, which works for vacant buildings. For active operations, downtime cascades into halted production lines, compromised high-bay visibility, frustrated occupants, and safety risks in poorly lit zones.
At NexVolt Energy Group, successful LED retrofit installation downtime mitigation starts before any technician touches a fixture: understanding your operational rhythm, inventorying existing systems, and scheduling work in phases that keep critical areas lit.
Pre-Installation Audits and Fixture Inventory Planning
A pre-installation audit is your foundation. Walk through your facility and document every recessed lighting fixture’s housing type, age, and condition. Note mission-critical areas: production floors, emergency exits, loading docks, and customer-facing spaces demand continuous lighting.
Create a fixture inventory spreadsheet listing:
- Location and zone (warehouse section, aisle number, room)
- Housing type and dimensions
- Current bulb type and wattage
- Fixture age and condition
- Priority level (critical, standard, flexible)
This inventory becomes your installation roadmap, identifying which fixtures can be retrofitted off-hours and which need daytime work with temporary lighting.
Pay special attention to housing compatibility. Not all recessed housings accept retrofit kits: standard spring-clip housings work well, but older fixtures with different mounting systems may need full replacement. Identifying these now prevents costly mid-project surprises.
LED Retrofit Project Planning for Occupied Facilities
Planning your LED retrofit for an occupied facility means treating downtime as a measurable constraint. Start by mapping your operational schedule: when the facility runs, where occupancy is highest, and what areas can tolerate temporary lighting changes.
Divide your facility into zones based on operational impact:
- Critical zones: Production areas, loading docks, emergency pathways, require continuous lighting
- Standard zones: Office areas, breakrooms, storage, can tolerate short outages with advance notice
- Flexible zones: Outdoor parking, less-used storage, can be retrofitted during business hours
For each zone, identify the maximum acceptable downtime window: a 24/7 distribution center might allow only 2-hour outages per area, a retail store might tolerate 4-hour Sunday morning closures, and a manufacturing plant might schedule work during shift changes.
Next, calculate fixture count per zone and estimate installation time. A trained technician can retrofit a standard recessed downlight in 20-30 minutes, including safety checks and testing.
Phased Lighting Installation and After-Hours Scheduling
Phased lighting installation breaks your project into manageable chunks scheduled around operational needs, working zone by zone instead of retrofitting the entire facility at once.
A typical phased approach looks like this:
- Phase 1: Retrofit 25% of fixtures in low-priority zones during regular business hours with temporary lighting
- Phase 2: Retrofit 25% of fixtures in standard zones during extended evening hours or weekend mornings
- Phase 3: Retrofit 25% of fixtures in higher-traffic areas during scheduled maintenance windows
- Phase 4: Retrofit remaining 25% of critical fixtures during planned closures or minimal-occupancy periods
After-hours scheduling is critical for occupied facilities. Evening and weekend work keeps operations running during business hours: a warehouse might schedule crews from 6 PM to midnight, while retail can use Sunday closing as a dedicated window.
Coordinate with your facility operations team, who know when production lines shut down, when occupancy dips, and when temporary lighting won’t disrupt workflows. NexVolt Energy Group works with facility managers to identify these windows before work begins.
Lighting Installation Safety Plan for Commercial Buildings
A formal lighting installation safety plan protects your team, occupants, and facility by addressing electrical hazards, fall protection, and occupant communication.
Start with electrical safety.
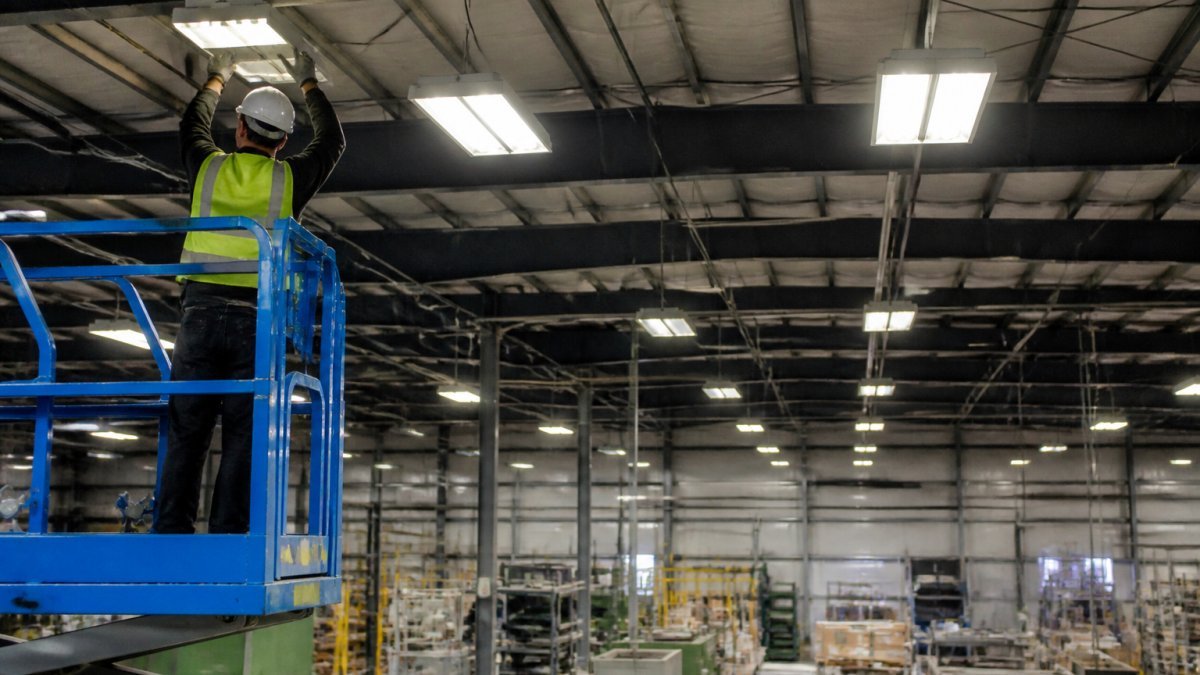
For high-bay fixtures, fall protection is non-negotiable. Retrofitting fixtures 20+ feet up requires proper ladder placement, harnesses, and ground spotters.
Develop a communication protocol with occupants: post notices in affected areas 48 hours before work, identify temporary lighting for critical zones, and establish a point of contact for safety concerns.
Document everything. Create a safety checklist for each retrofit session: circuit breaker confirmation, multimeter verification, fall protection setup, temporary lighting status, and post-installation testing. This protects your facility legally and ensures consistent execution.
LED Retrofit Installation Timeline and Execution Steps
Your LED retrofit installation timeline depends on fixture count, facility size, and scheduling constraints. A typical commercial retrofit takes 2-8 weeks from start to commissioning, with installation spread across multiple phases.
Step 1: Prepare Work Areas and Secure Circuit Power
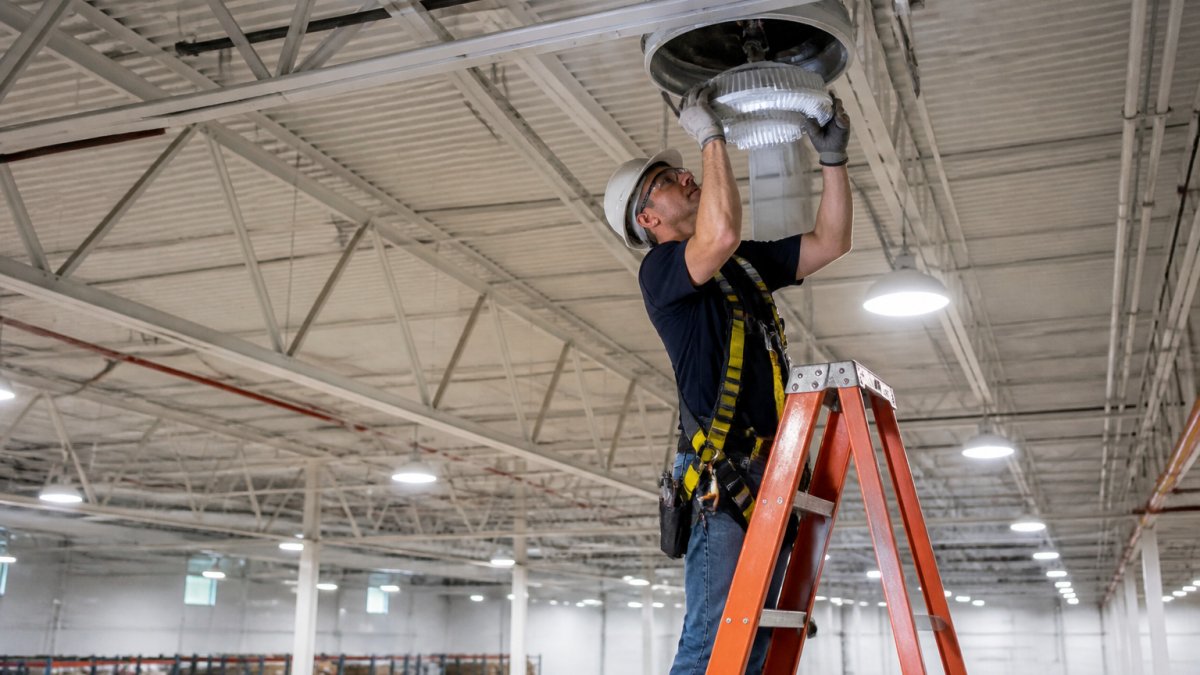
Before touching any fixture, secure the electrical circuit. Locate the breaker serving the fixtures, switch it off, engage the lockout mechanism if available, and post a “Do Not Operate” notice to prevent someone else from restoring power.
Verify power is off with a multimeter, testing the fixture, wiring terminals, and breaker to confirm no voltage. This takes 2-3 minutes per fixture but is non-negotiable given the serious risk of electric shock.
Set up your work area: position ladders safely, clear obstacles, and ensure adequate lighting. If the fixture is your only light source, bring portable work lights, and keep retrofit kit components organized and within reach.
Step 2: Remove Existing Fixtures and Trim
Remove the existing bulb or trim from the recessed housing. Most standard fixtures have a trim ring held by spring clips or screws; release the clips or unscrew the trim, then remove the bulb or ballast assembly.
On older fixtures, the trim might be painted over or corroded. Work carefully to avoid damaging the housing, and if the trim is stuck, apply gentle pressure rather than forcing it.
Once the trim is out, inspect the housing for debris, dust, or damage. Clean out loose material and check edges for sharp corners or rough surfaces that might damage the retrofit kit.
Get a Free Property Assessment →
Step 3: Verify Housing Compatibility and Dimensions
Before installing the retrofit kit, confirm the housing matches your specifications. Measure the opening diameter (typically 4-6 inches for standard recessed downlights) and check depth, since kits need adequate space inside the housing.
Verify the housing type. Spring-clip housings are ideal for retrofit kits; if your housing has a different mounting system, the kit might not fit. Identify incompatible housings now, as they’ll require full fixture replacement.
Check for obstructions. Some older housings have internal bracing or insulation that limits kit depth, so ensure your selected kit fits within the available space, as a tight fit risks damage during installation.
Step 4: Install Retrofit Kit and Connect Wiring
Carefully insert the retrofit kit into the housing. Most kits slide in from below and secure with springs or clips. Follow the manufacturer’s instructions precisely, and ensure the kit sits flush and level.
Once positioned, connect the wiring. Most kits have a connector that attaches to the existing house supply wires inside the housing. Strip about half an inch of insulation if needed, join the kit leads to the supply wires with the supplied connectors, and twist clockwise until snug without over-tightening.
Verify all connections are secure and insulated with no bare wire exposed, then gently tuck excess wiring into the housing to avoid pinching or strain.
Step 5: Secure Retrofit Light and Test Dimmer Compatibility
Secure the retrofit light using the provided mounting hardware. Most kits use spring clips or screws; ensure the fixture is centered and level, since a crooked fixture looks unprofessional and casts uneven light.
Restore power by switching the breaker back on. The retrofit light should illuminate immediately; if it doesn’t, switch the breaker off and check wiring connections, as a loose connector is the most common cause.
Test dimmer compatibility if the circuit uses a dimmer switch.
Step 6: Commissioning and Performance Verification
Once all fixtures in a zone are installed, commission the area.
Check color temperature consistency. All new LED retrofit lights should match (typically 3000K warm white or 4000K neutral white), since mismatched temperatures create a patchwork appearance.
Test any integrated smart controls or occupancy sensors, verifying motion detection, command response, and smooth dimming. Document and address issues before moving to the next phase.
Create a commissioning report for each zone, recording fixture count, installation date, issues encountered, and performance results. This supports your timeline and provides a record for future maintenance.
Occupant Communication and Temporary Lighting Solutions
Clear occupant communication prevents frustration and safety issues during phased retrofit work. Announce the project timeline at least two weeks before work begins, explaining which areas are affected, when work occurs, and what to expect.
Provide specific details: “Retrofit work in Warehouse Zone A will occur Sunday evenings from 6 PM to 10 PM, October 15-22. Temporary lighting will be in place. Production lines will remain offline during this window.
For critical zones where you can’t afford complete darkness, deploy temporary lighting solutions.
In retail environments, consider temporary closures of affected zones rather than operating with partial lighting.
Measuring Success: Downtime Metrics and Project KPIs
Track your LED retrofit installation downtime to prove success and improve future planning.
Define key performance indicators for your retrofit project:
- Zone downtime: Hours of reduced or no lighting per operational area
- Occupant impact: Number of people affected per downtime window
- Unplanned outages: Fixtures that failed during retrofit or required rework
- Installation pace: Average fixtures completed per technician per hour
- Schedule adherence: Percentage of retrofit work completed on time
- Quality metrics: Fixtures requiring adjustment or replacement after commissioning
These metrics reveal where your process succeeded and where it needs improvement. If one zone required twice the estimated time, analyze why: worse-than-expected housing condition, crew inexperience with that fixture type, or safety procedures adding unexpected time.
Use these insights for future phases and projects. A well-documented retrofit becomes a playbook for scaling LED upgrades across your facility portfolio.
Get a Free Property Assessment
LED retrofit installation downtime doesn’t have to derail your operations. NexVolt Energy Group specializes in phased LED retrofits designed around your facility’s schedule.
Frequently Asked Questions
How can you install LED lighting without shutting down a facility?
Phased lighting installation and after-hours scheduling are the primary strategies. Work with contractors to install retrofit kits in sections during non-operational hours, low-traffic periods, or scheduled maintenance windows. Temporary lighting solutions, portable fixtures or temporary power circuits, keep work areas safe and maintain visibility in adjacent zones. For 24/7 facilities, coordinate with operations to install one zone at a time, ensuring no single outage disrupts production. A pre-installation audit identifies which circuits and fixtures can be upgraded independently, enabling true phased execution without facility-wide shutdowns.
How long does a commercial LED retrofit installation timeline typically take?
The LED retrofit installation timeline depends on facility size, fixture count, and scheduling constraints. A single-zone retrofit in a small warehouse may take 1-3 days; large distribution centers with hundreds of fixtures typically span 2-6 weeks when phased. After-hours or weekend installation extends the calendar but minimizes operational disruption. Pre-installation audits and fixture inventory planning reduce unexpected delays. High-bay installations (30+ feet) require specialized equipment and trained crews, potentially adding time but ensuring electrical safety and code compliance. NexVolt Energy Group manages the entire timeline with detailed project planning to keep your facility operating smoothly.
What should be included in a lighting installation safety plan for a commercial building?
A comprehensive lighting installation safety plan addresses electrical safety, fall protection, occupant communication, and work-area isolation. Key elements include turning off circuit power and confirming de-energization before touching wiring, using OSHA-compliant fall protection for high-bay work, establishing temporary lighting to prevent accidents in dark zones, and posting clear signage to alert staff. The plan must coordinate with facility operations to avoid conflicts with production schedules and identify emergency procedures. It should also cover hot-work permits if applicable, ensure all electricians follow National Electrical Code (NEC) standards, and verify dimmer compatibility before energizing retrofit kits. Professional contractors like NexVolt integrate these safeguards into every installation.
Can LED retrofit installation be done in phases while a warehouse stays open?
Yes. Phased lighting installation is specifically designed for occupied facilities. Divide your warehouse into zones based on circuit layout and operational zones, then upgrade one section at a time during scheduled downtime windows. For example, install retrofit kits in the north bay during the night shift, then the south bay the following week. Temporary lighting solutions and portable work lights keep adjacent areas safe during installation. A pre-installation audit and detailed project planning identify the optimal sequence to minimize impact on production. This approach reduces total downtime cost, spreads contractor expenses, and allows staff to adapt gradually to new lighting performance and color temperature.