
Table of Contents
- Why Downtime Management Matters in Commercial LED Installation
- Pre-Installation Site Readiness and Risk Assessment
- Phased Lighting Installation to Minimize Operational Disruption
- Warehouse Lighting Installation Schedule Planning
- LED Retrofit Project Checklist for Downtime Control
- LED Installation Safety Procedures and Compliance
- Contingency Planning for Installation Delays
- Measuring and Tracking Downtime Impact
- Frequently Asked Questions
Last Updated: October 17, 2026
Why Downtime Management Matters in Commercial LED Installation
Commercial LED installation downtime management is critical for 24/7 operations, lost lighting or power stops productivity and costs accumulate fast.
The real problem is poor planning: most facilities treat LED upgrades as an afterthought, then scramble when work disrupts operations.
Plan ahead and your team stays productive, lighting transitions smoothly, and work finishes on schedule.
Downtime management starts before any contractor arrives. It requires:
- A clear assessment of your electrical system and ceiling infrastructure
- A phased installation schedule that protects your operations
- Temporary lighting solutions for work zones
This guide gives you a practical framework to manage LED installation downtime without shutting down your facility.
Pre-Installation Site Readiness and Risk Assessment
A professional site assessment identifies electrical constraints, ceiling conditions, and access challenges that determine your timeline and complexity. Missing them leads to costly mid-project surprises.
Electrical System Inspection
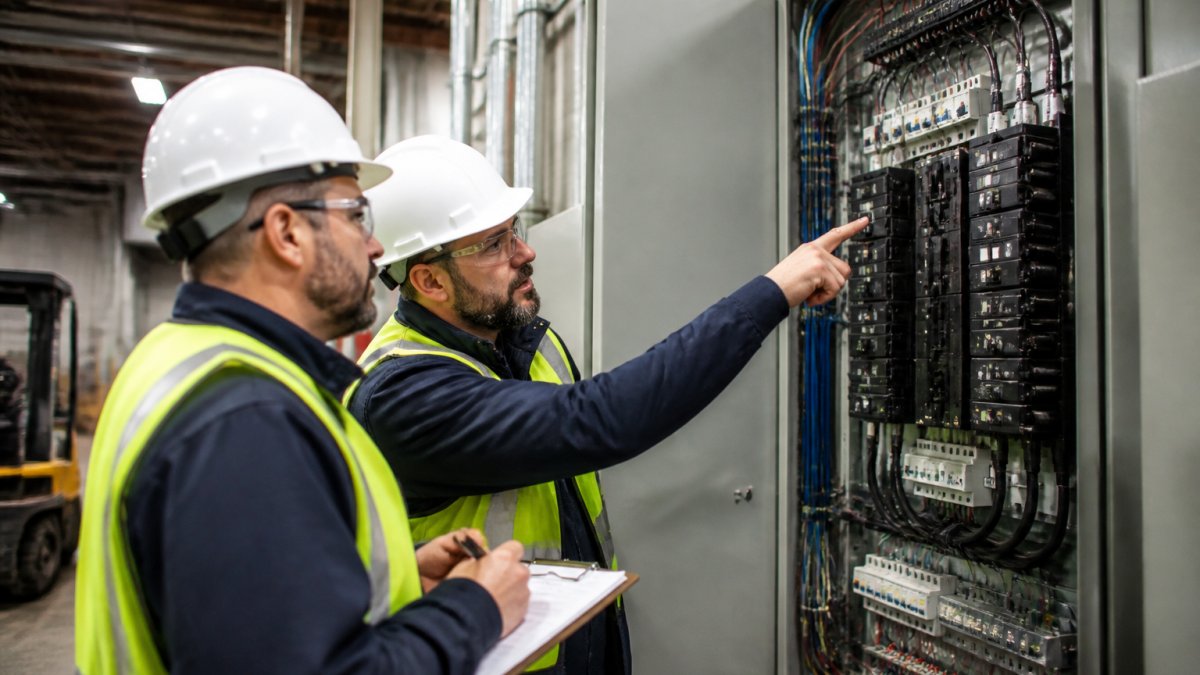
Your electrical infrastructure must support new LED systems; an outdated panel, undersized circuits, or corroded wiring can halt installation.
A qualified electrician should evaluate:
- Main service panel capacity and condition
- Circuit breaker availability for new LED circuits
- Existing wiring gauge and routing
This inspection takes 2-4 hours for most warehouses and saves thousands in rework. Document all findings in writing.
Ceiling and Access Requirements
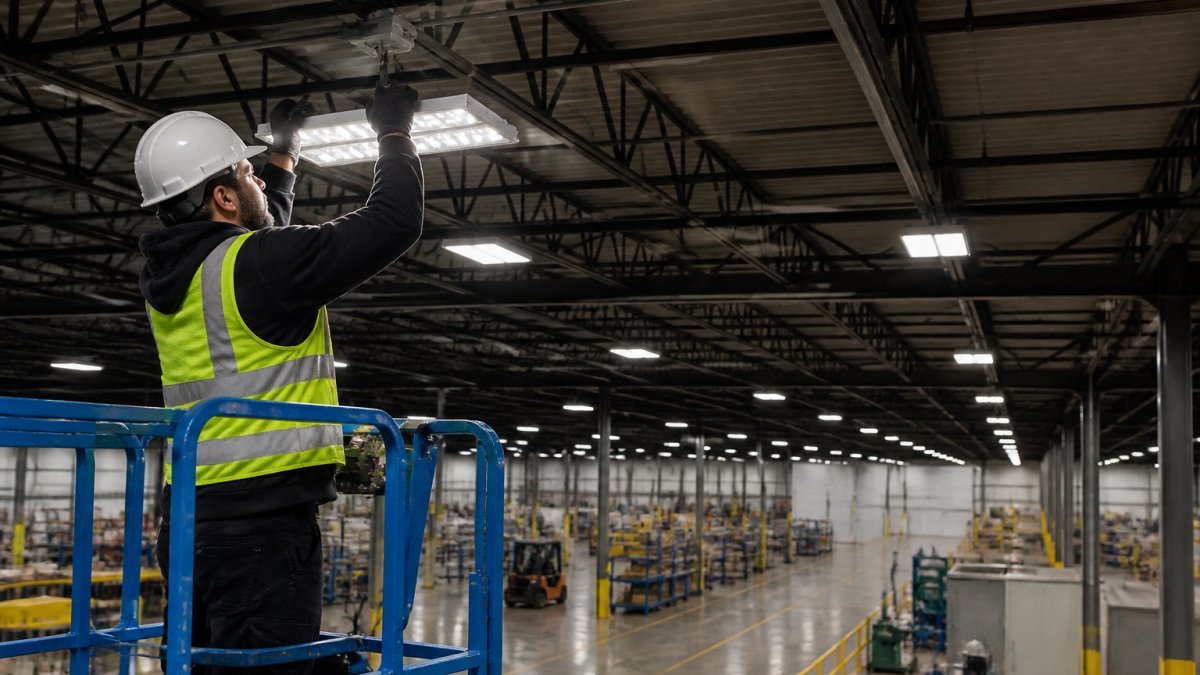
High-bay fixtures often sit 25-40 feet overhead, so access requires proper equipment and planning.
Assess your ceiling structure for:
- Existing mounting points and their condition
- Structural load capacity for installation equipment
- Sprinkler systems, HVAC ducts, or other obstructions
Document ceiling height, bay dimensions, and obstacles. This shapes your schedule and equipment needs and flags safety risks before work starts.
Phased Lighting Installation to Minimize Operational Disruption
Phased installation breaks the LED retrofit into smaller zones. Your facility keeps running while crews work in designated areas.
Divide the facility into zones, install zone by zone, and sequence work around your operating schedule. Most warehouses complete phased LED installation downtime management over 4-8 weeks without halting operations.
Zone-by-Zone Scheduling
Divide your facility into logical work zones, aisle layout or production areas for warehouses, departments or sections for retail.
Each zone gets a dedicated installation window:
- Weeks 1-2: Zone A (receiving area, low traffic)
- Weeks 3-4: Zone B (secondary storage)
- Weeks 5-6: Zone C (main warehouse floor)
Within each zone, crews install fixtures during off-hours or low-traffic shifts, so your team adapts to temporary lighting zone by zone rather than all at once.
Temporary Lighting Solutions During Transitions
During installation, work zones need temporary lighting. This prevents productivity loss and maintains safety.
Common temporary solutions include:
- Portable LED work lights on tripods
- String lighting along aisles
- Temporary fixtures on existing infrastructure
Temporary lighting runs 4-8 weeks during phased installation, preventing far larger losses from operational disruption.
Warehouse Lighting Installation Schedule Planning
Most warehouses follow predictable patterns, receiving early morning, shipping peaking mid-afternoon, skeleton night crews. Identify your slowest hours and schedule installation then.
Off-Hours and Low-Traffic Windows
Off-hours installation minimizes disruption; for 24/7 operations, work during the slowest shift or maintenance windows.
Common off-hours windows:
- 10 PM to 6 AM (night shift, reduced activity)
- Weekends (if your facility operates reduced hours)
- Scheduled maintenance windows (if your facility has them)
Off-hours work costs more in overtime labor, but the extra cost is worth avoiding downtime losses.
Shift-Based Coordination
Coordinate installation with your shift schedule. Brief your team on what to expect each shift.
A typical shift-based plan looks like:
- Day shift (6 AM-2 PM): Crews work in completed zones, install fixtures in new zones
- Night shift (2 PM-10 PM): Crews finish zones, test systems, install temporary lighting
- Graveyard shift (10 PM-6 AM): Maintenance and final inspections
Communicate the schedule to all staff. Explain which zones are under construction. Show them where temporary lighting is placed. Answer questions. Staff cooperation prevents safety issues and keeps operations smooth.
LED Retrofit Project Checklist for Downtime Control
A detailed checklist keeps installation on track, preventing missed steps and catching problems early.
Use this checklist to manage your LED installation downtime management project from start to finish.
Pre-Installation Tasks
Complete these tasks before crews arrive:
- Electrical system inspection completed and documented
- Ceiling and access assessment finished
- Installation schedule approved by operations manager
During-Installation Checkpoints
Monitor progress daily. Check these items:
Get a Free Property Assessment →
- Crews arrive and depart on schedule
- Work stays within designated zones
- Temporary lighting functions properly
Post-Installation Verification
After crews finish each zone, verify quality before moving to the next zone:
- All fixtures installed and secured
- Electrical connections inspected and tested
- Fixtures powered on and function properly
LED Installation Safety Procedures and Compliance
Professional installation follows strict safety standards. Ensure your contractor follows them.
High-Ceiling Work and Fall Protection
High-bay fixture installation requires fall protection; OSHA mandates safety measures for work above 6 feet.
Required fall protection includes:
- Personal fall arrest systems (harnesses, lanyards, anchors)
- Guardrails on elevated work platforms
- Safety nets where applicable
Ask your contractor for proof of fall protection training and worker certifications, and verify equipment is inspected and maintained.
Electrical Safety and Power Management
Electrical work creates hazards. Improper handling causes fires, shocks, and equipment damage.
Critical electrical safety measures:
- All circuits de-energized before work begins
- Lockout/tagout procedures followed
- Grounding straps worn during electrical work
Verify your contractor’s liability insurance before work starts, and ask about their electrical safety record and past incidents.
Contingency Planning for Installation Delays
Weather, supply chain issues, structural problems, or staffing shortages can push timelines back. Buffer weeks and temporary lighting alone aren’t enough, you need specific mechanisms for backup labor, replacement stock, escalation, and recovery.
Backup Crews and Labor Redundancy
Don’t rely on a single crew. Identify at least one backup crew mobilizable within 24-48 hours if the primary is delayed, critical for phased installations where a missed zone window cascades into later phases.
- Confirm in writing that your contractor has access to additional certified electricians and lift operators.
- Ask for a list of subcontractors or partner firms they can call on short notice.
- Verify that backup crews are familiar with your site’s access, safety, and scheduling requirements.
Require a written labor redundancy plan in the bid package to force contractors to think through contingencies before work begins.
Replacement Stock and Inventory Buffers
Equipment failures or shipping delays can halt installation. Maintain a buffer of critical components, fixtures, drivers, mounting hardware, and wiring, on-site or at a nearby warehouse.
- Order 5-10% extra fixtures and drivers to cover defects or damage during installation.
- Store replacement stock in a secure, accessible area so crews can swap components without waiting for a shipment.
- Confirm lead times for specialty items and identify alternative suppliers if lead times exceed two weeks.
For large retrofits, use a staging area where materials are received and inspected before installation, catching shortages early.
Escalation Paths and Communication Protocols
When a delay occurs, everyone needs to know who to call. Establish a clear escalation path:
- Level 1: On-site supervisor and facility manager resolve minor issues (e.g., a missing part, a scheduling conflict).
- Level 2: Project manager and operations director address larger delays (e.g., crew shortage, access restriction).
- Level 3: Executive sponsor and contractor principal handle critical failures (e.g., safety incident, extended shutdown).
Document this path in your project charter, share it with stakeholders, and require the contractor to notify you within 2 hours of any schedule-affecting delay.
Recovery Plans for Extended Delays
If a delay extends beyond your buffer, you need a recovery plan that keeps operations running. Options include:
- Extend temporary lighting to additional zones and maintain it longer than planned.
- Re-sequence zones to prioritize critical areas (e.g., shipping, production) and defer low-impact areas.
- Add weekend or overtime shifts to catch up, with clear cost-sharing agreements.
Review the recovery plan with operations before installation so everyone understands the triggers and actions. A written recovery plan is a hallmark of mature downtime management, often missing from standard retrofit contracts.
Include a contingency clause in your contract that requires the contractor to submit a written delay-recovery plan within 24 hours of any schedule slip. This turns a vague promise into an actionable document.
Measuring and Tracking Downtime Impact
Tracking downtime isn’t just about recording hours lost. Actionable downtime management needs defined service-level targets, consistent measurement, and thresholds that trigger corrective action, where most retrofit projects fall short.
Defining Measurable Downtime Targets
Set specific, quantifiable targets before installation, agreed by operations, facilities, and the contractor. Common targets include:
- Outage hours per zone: The maximum acceptable hours of reduced lighting or power in any zone (e.g., no more than 4 hours per zone during peak shifts).
- Affected area: The maximum square footage or percentage of the facility that can be without normal lighting at any one time (e.g., no more than 15% of the warehouse floor).
- Response time: The time within which the contractor must respond to a lighting failure or safety issue (e.g., 2 hours for critical areas, 8 hours for non-critical).
Document these targets in a service-level agreement (SLA) or project charter. Review them daily during installation.
Measurement Methods and Data Collection
Measure actual downtime against targets consistently using a combination of:
- Daily logs: Crews record start and stop times, zones worked, and any interruptions. Facility managers counter-sign.
- Light meter readings: Take illuminance (foot-candle) readings in each zone before, during, and after installation to verify temporary lighting adequacy.
- Work order tracking: Log every issue, response time, and resolution in a shared spreadsheet or CMMS (computerized maintenance management system).
A simple template works: date, zone, planned work, actual work, downtime hours, cause, corrective action. Use it for weekly reviews.
Thresholds and Corrective Actions
Define thresholds that trigger escalation or corrective action:
- If outage hours in any zone exceed the target by 50%, the project manager must convene a same-day review.
- If first-trip completion falls below 90%, the contractor must provide a written improvement plan within 48 hours.
- If response time for critical issues exceeds 4 hours, escalate to Level 2 (operations director).
These thresholds stop small problems becoming major disruptions and create accountability without micromanagement.
Post-Installation Review and Benchmarking
After installation, compile a closeout report comparing actual downtime to targets and benchmarks.
Use the report to:
- Identify which zones or phases had the highest downtime and why.
- Calculate the cost of downtime (labor hours lost, productivity impact) and compare it to the cost of contingency measures.
- Update your maintenance and future project plans with lessons learned.
Downtime measurement is only valuable if it drives action. Set targets, measure consistently, and tie thresholds to specific corrective steps. This transforms downtime management from a vague goal into a managed process.
Frequently Asked Questions
How can businesses reduce downtime during a commercial LED lighting installation?
Businesses reduce downtime through phased installation, which breaks the project into zones installed during off-hours or low-traffic periods. Pre-installation risk assessment identifies electrical and structural issues ahead of time, preventing delays. Temporary lighting solutions keep operations running during transitions. Clear scheduling coordination with facility management and contingency planning for weather or supply delays further minimize disruption. NexVolt Energy Group manages this end-to-end, ensuring your facility stays operational.
What should a warehouse lighting installation schedule include?
A warehouse lighting installation schedule must specify installation windows (off-hours, weekends, or low-production shifts), identify which zones are worked on each day, define temporary lighting coverage, and include buffer time for unexpected issues. The schedule should account for staff training on new controls, post-installation inspection timelines, and coordination with your operations team. A detailed warehouse lighting installation schedule prevents conflicts with inventory movement, shipping, and staffing.
Can a warehouse stay operational during an LED lighting upgrade?
Yes. Phased lighting installation allows zones to be upgraded sequentially, so the rest of the facility continues running. Temporary lighting systems are installed in upgraded zones during the transition period. Off-hours and weekend work further reduces disruption. High-ceiling work in warehouses requires fall protection and careful coordination, but professional contractors experienced with industrial facilities can execute upgrades with minimal operational impact. NexVolt’s turnkey approach ensures scheduling around your operating hours.
What safety steps are needed during a commercial LED retrofit?
LED installation safety procedures include fall protection for high-ceiling work (30+ feet), electrical lockout/tagout during power management, proper scaffolding and equipment, and trained personnel following OSHA standards. Contractors must verify ceiling structural capacity, inspect electrical systems before installation, and ensure temporary lighting meets safety standards. Post-installation verification confirms all fixtures operate correctly and emergency lighting functions properly. Professional contractors carry liability insurance and follow documented safety protocols throughout the retrofit.