Table of Contents
- Why High Bay LED Maintenance Matters
- High Bay LED Light Cleaning: Step-by-Step
- High Bay Lighting Maintenance Schedule by Environment
- LED Fixture Inspection Checklist
- High Bay LED Light Troubleshooting: Flickering, Dimming, and Outages
- Safety First: Lockout, Electrical, and Working-at-Height Procedures
- When to Repair, Replace, or Call a Qualified Electrician
- Maintenance Records, Warranty, and Controls Checks
- Frequently Asked Questions
Last Updated: October 21, 2026
Why High Bay LED Maintenance Matters
High bay LED maintenance is the scheduled care of overhead fixtures, lenses, heat sinks, and connections that keeps light output steady and extends fixture life.
Dirt is the main culprit. Dust settles on the lens and clogs the heat sink fins.
The payoff for a real program is simple:
- Steady light levels on the floor
- Fewer early failures
- Longer fixture lifespan
Below, we’ll show you exactly how to clean, inspect, and troubleshoot high bay LED fixtures, plus a schedule you can put on the calendar this week.
High Bay LED Light Cleaning: Step-by-Step
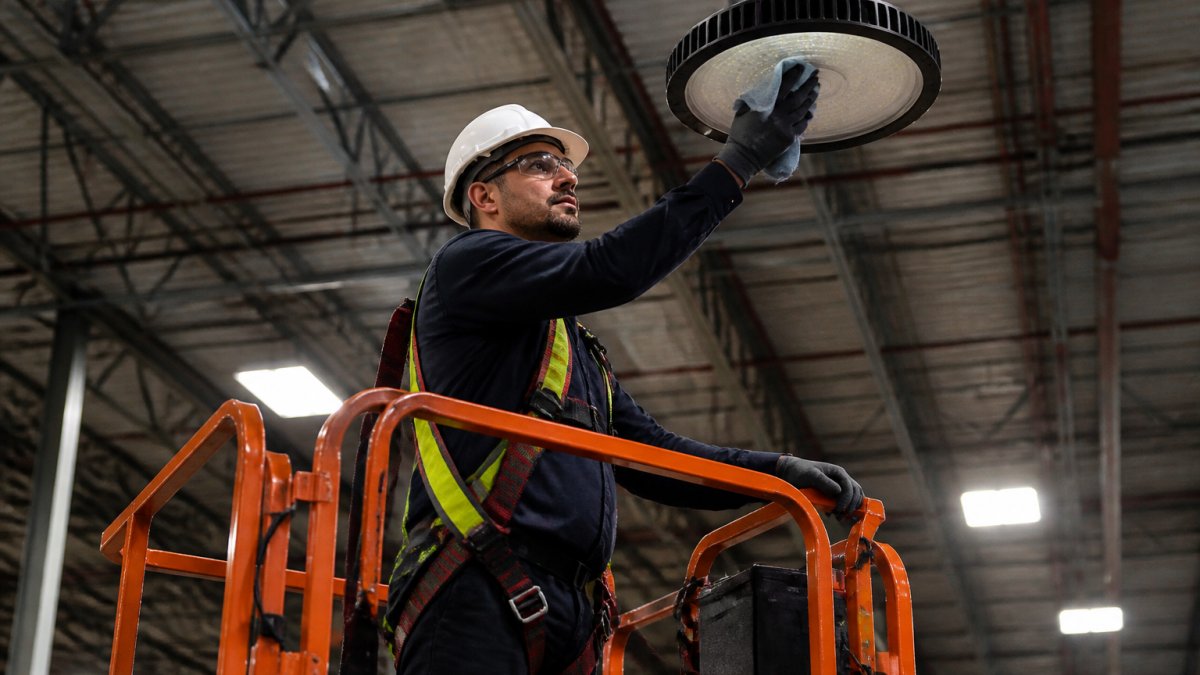
Cleaning is the highest-value task you can do, and it costs almost nothing. A soft cloth, mild soap, and a few minutes per fixture restore most of the light you thought you had lost.
Three rules come first. Power the fixture off at the breaker. Let it cool completely. Never spray liquid directly at the lens or driver housing.
Tools and Supplies You’ll Need
- A soft microfiber cloth (no paper towels, no abrasive pads)
- Mild soap mixed with water in a spray bottle
- A soft bristle brush for heat sink fins
Cleaning the Lens, Housing, and Heat Sink
Work in three passes. First, dry-wipe loose dust from the lens. Second, spray mild soap on the cloth, not the fixture, and wipe the lens and housing. Third, brush or vacuum the heat sink fins from top to bottom.
What most guides miss: the heat sink matters more than the lens. Clogged fins trap heat, and trapped heat shortens LED driver life faster than dirt on the lens ever will. Clean the fins every time, even when the lens looks fine.
High Bay Lighting Maintenance Schedule by Environment
A high bay lighting maintenance schedule should match the room, not a generic calendar. Dusty, humid, or high-cycle spaces need shorter intervals than clean, climate-controlled ones.
Here is a recommended schedule for facility teams:
| Environment | Clean & Inspect | Full Electrical Check | Notes |
|---|---|---|---|
| Clean, climate-controlled warehouse | Every 12 months | Every 24 months | Lowest dust load |
| General warehouse or distribution center | Every 6 to 9 months | Every 12 months | Watch high-traffic aisles |
| Manufacturing or fabrication floor | Every 3 to 6 months | Every 12 months | Oil mist and metal dust build fast |
| Cold storage or high-humidity space | Every 6 months | Every 12 months | Check for moisture and corrosion |
| Parking garage | Every 6 months | Every 12 months | Exhaust film coats lenses quickly |
Add an unscheduled cleaning after any construction, roof work, or duct cleaning nearby. Dust events undo months of routine care in a single afternoon.
LED Fixture Inspection Checklist
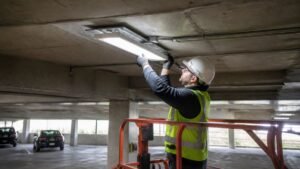
An LED fixture inspection checklist turns a vague “looks fine” into a repeatable pass or fail. Use the same list every visit so results are comparable over time.
Visual and Electrical Checks
- Lens free of cracks, clouding, or discoloration
- Housing and mounting hardware tight, no sagging
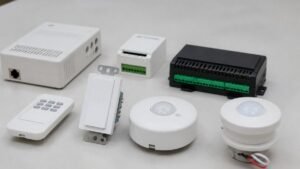
- Occupancy sensors and controls respond correctly
Measuring Light Output Before and After
You cannot manage what you do not measure. Use a light meter at floor level under a sample of fixtures before cleaning and again after. Record both numbers.
If output stays low after a thorough cleaning, the fixture is likely near end of life or the driver is degrading. That reading is your repair-or-replace signal, not a guess.
High Bay LED Light Troubleshooting: Flickering, Dimming, and Outages
High bay LED light troubleshooting starts with one question: is the problem in the fixture, the driver, the circuit, or the control system? Most flickering traces to a failing driver or a loose connector, not the LEDs themselves.
Before you climb, do the cheap checks at floor level. Confirm the breaker is not tripped, confirm the wall switch or control panel is calling for light, and confirm the fixture is not on a dimming schedule that has it at 10 percent.
Diagnostic Decision Tree
Work through these in order and stop at the first match:
- Flickering or strobing? Check dimmer and control compatibility first. A driver rated for 0-10V dimming paired with a forward-phase dimmer will flicker at low settings. If controls are compatible, inspect the driver for heat damage, a bulged capacitor or browned board is a failed driver, not a loose wire.
- Gradual dimming across a whole run? Suspect a voltage drop or a shared control setting, not individual fixtures. Measure voltage at the first and last fixture on the run; a meaningful drop points to undersized wire or a loose neutral at the panel.
- One fixture dark, rest fine? Test the connector and driver on that unit. Swap the driver from a known-good fixture of the same model to confirm before ordering a replacement.
- Whole circuit out? Stop and check the breaker and panel before touching any fixture. A breaker that trips again immediately after reset is a fault, not a nuisance trip.
- Uneven illumination in a row? Mixed color temperatures or aged fixtures are usually the cause. Compare labels; a 4000K fixture next to a 5000K fixture reads as uneven even when both are working correctly.
- Buzzing or humming? Usually driver electronics or a loose mounting connection. Tighten the housing first, then suspect the driver.
- Delayed startup or a faint glow? A driver on its way out. Note the date and plan replacement before it fails completely.
Separating a Dirty Lens from a Failing Driver
This is the step most guides skip. Before you diagnose electronics, clean the lens and heat sink and re-measure with a light meter at floor level.
Get a Free Property Assessment →
A common pattern in facilities is a fixture that dims over months and gets written off as “old.” Cleaning the heat sink fins restores output more often than teams expect, because trapped heat drives the driver to derate.
Never swap a driver while the circuit is live. Capacitors hold a charge after shutdown, and a shock at height can cause a fall. Lock out the breaker and wait before opening any housing. If the fixture is on a lift and you are alone, lower the lift before troubleshooting the driver.
Keep one known-good driver of your most common fixture model on the shelf. Swapping it into a suspect fixture takes minutes and tells you definitively whether the driver or the fixture is at fault, far faster than ordering a part on speculation.
Safety First: Lockout, Electrical, and Working-at-Height Procedures
Safety comes before speed on every maintenance visit. The Occupational Safety and Health Administration requires lockout/tagout procedures for servicing equipment, and overhead electrical work at height adds fall risk on top of shock risk.
Follow this sequence every time:
- Lock out and tag the lighting circuit at the panel
- Confirm zero voltage before opening a housing
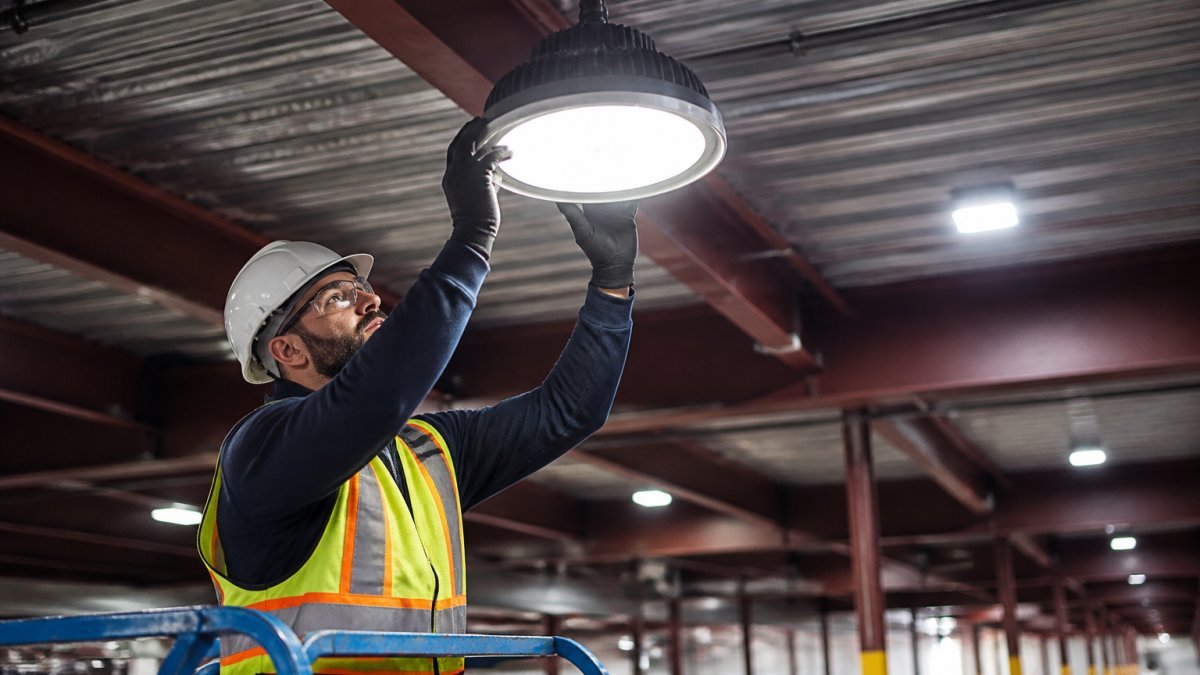
- Use a lift rated for the height, with guardrails and a harness where required
The most common mistake is treating a quick lens wipe as a no-risk task. It is still work at height near live equipment. Lock out first, every time, even for a two-minute job.
When to Repair, Replace, or Call a Qualified Electrician
Repair makes sense when a single fixture fails and the rest of the run is healthy. Replace when fixtures are aging out together, output stays low after cleaning, or drivers fail repeatedly. The decision is mostly about labor economics: the fixture is cheap relative to the lift time and the electrician’s hourly rate, so a second trip to the same fixture usually costs more than the part.
Component-Level Limits
Know what is field-serviceable and what is not:
- Driver: Replaceable on most high bay fixtures if the model is still supported. Match the driver’s output voltage and current to the LED board; a mismatched driver will fail early or run hot.
- LED board or module: Replaceable on some fixtures, sealed on others. If the board is potted or the housing is glued, the fixture is a unit replacement.
- Lens and gasket: Replaceable and worth replacing whenever you open the housing, especially in wet or washdown areas where a hardened gasket lets moisture in.
Repair vs. Replace Decision Criteria
Use these thresholds as a rule of thumb:
- One fixture, model still supported, driver available: Repair. Order the driver and schedule it with the next routine cleaning visit so you pay for one lift, not two.
- Same fixture failed twice in 24 months: Replace the fixture. Repeat driver failures usually mean the heat sink is compromised or the fixture is undersized for the space.
- More than about a quarter of a run has failed or dimmed: Replace the run. Piecemeal repair on an aging run costs more in labor than a planned replacement, and mixed ages read as uneven light on the floor.
When to Call a Licensed Electrician
Call a licensed electrician for any of these, do not let in-house staff attempt them:
- Burned or discolored wiring, or any smell of burning insulation
- Breaker trips that repeat after reset
- Water intrusion inside a housing, especially in washdown or cold-storage areas
Warranty and Records Before You Repair
Check the warranty before you touch a failed fixture. Most fixture warranties run five to ten years and require documented maintenance; a missing log can void a claim on an expensive driver.
For larger facilities, a full upgrade can offer significant benefits. High bay LED fixtures with modern drivers and occupancy sensors can cut both energy use and maintenance calls, and utility rebate programs frequently offset part of the project cost.
The cheapest repair is the one you do not have to repeat. If the same fixture fails twice, stop repairing it, the labor at height is the real cost, and a planned replacement beats an emergency call every time.
Maintenance Records, Warranty, and Controls Checks
Records protect your warranty. Most fixture warranties require documented maintenance, and a missing log can void a claim on an expensive driver.
Keep one log per fixture run with these fields:
- Date and technician
- Cleaning and inspection results
- Light meter readings before and after
Check controls on the same visit. Confirm occupancy sensors trigger and release, verify dimming schedules, and test emergency and exit lighting. Controls drift quietly, and a sensor stuck on wastes energy all year.
Photograph each fixture label on your first visit. When a driver fails two years later, you will have the model and serial number ready instead of climbing back up to read it.
Frequently Asked Questions
How often should high bay LED lights be cleaned?
Cleaning frequency depends on the environment. In dusty warehouses or manufacturing plants, clean high bay LED fixtures every 6 to 12 months. In cleaner retail or office spaces, every 12 to 24 months is usually enough. Check the lens monthly for visible dust buildup and adjust your schedule accordingly. Regular cleaning preserves light output and prevents heat sink clogging, which can shorten the lifespan of LED high bay lights.
What should you inspect during high bay LED light maintenance?
Use an LED fixture inspection checklist that covers the lens for cracks or discoloration, the heat sink for dust and debris, wiring and connectors for loose connections, mounting hardware for security, and the driver for signs of overheating. Also check for flickering, dimming, or uneven illumination. Measure light levels with a lux meter before and after maintenance to confirm performance. Document all findings for warranty and maintenance records.
How long do high bay LED lights last?
Most high bay LED fixtures are rated for 50,000 to 100,000 operating hours, which translates to roughly 10 to 20 years of typical use. However, actual lifespan depends on operating conditions, including temperature, dust, and humidity. Regular cleaning and inspection help fixtures reach their rated life. If you notice significant dimming or frequent failures, it may be time to replace the fixture or driver rather than continue repairs.
When should a high bay LED fixture be replaced?
Replace a high bay LED fixture when light output drops below 70% of its original level, when the driver fails repeatedly, or when the housing shows cracks or corrosion that compromise safety. If repairs cost more than half the price of a new fixture, replacement is usually more economical. Consult a qualified electrician or lighting professional to evaluate whether repair or replacement makes sense for your facility.
Most facilities do not have a maintenance problem. They have a scheduling problem, and the fix is a calendar plus a checklist. If you would rather hand the whole program to a team that does this daily, NexVolt Energy Group offers free property assessments, utility rebate coordination, and turnkey installation with occupancy sensors and smart controls. Get a free property assessment and find out what your current fixtures are actually costing you.